Showing posts with label tutorial. Show all posts

3.25.2014

Cute Little Pocket Book - Tutorial

Sometime around December of 2009, Lucy and I did a Make & Take at Archiver's while we there cropping one Friday night. It was a cute little book with pockets in it made out of a piece of 12x12" cardstock. I made one for my sister to use as a gift for someone she worked with. I proceeded to post a few pictures and tell about the book, but not how to make it. You can see it here. My dear friend, Michelle, said she'd like the instructions because it would be fun to put prayers in the pockets and give it to someone. I probably said I'd be happy to share my newly-learned directions with her.

But I never did.

Sigh.

I did, however, keep the email containing her comment asking for instructions. All this time. Since 12/21/09.

Sorry, Michelle. What a major procrastinator I am!

And I am happy to report that now, nearly four and a half years later, I'm finally posting the instructions. For Michelle. Or anyone else who'd like them.


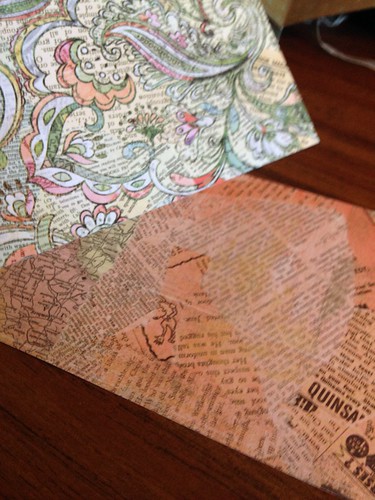
1. Start with a 12x12" sheet of double-sided cardstock. Not patterned paper, but cardstock (I just don't think paper would hold up all that well, but you could try it).

2. Cut it in half. Either direction. Ha! Ha!

IMG_2097

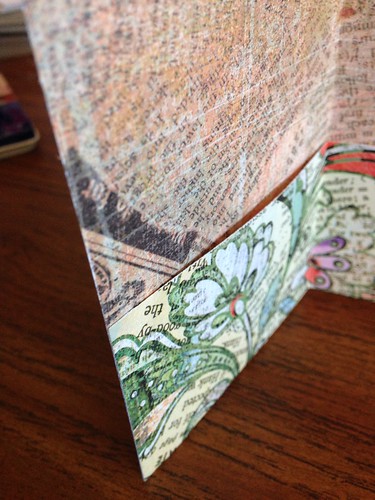
3. Score each half at 2" the long way. Figure out which side you want to be inside and which will be the outside. Fold on the score line the appropriate way. This forms the pockets.

IMG_2098

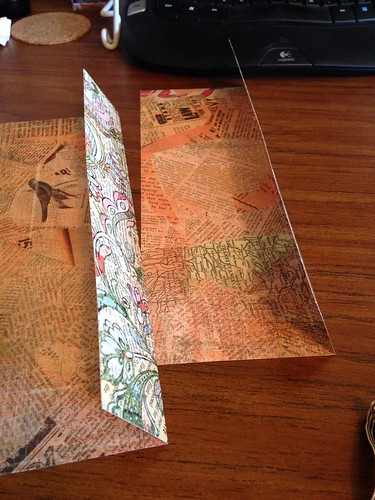
4. Now score each half on the back side at the center (6").

IMG_2099

5. Score at 3" in from each end on the opposite side.

IMG_2100

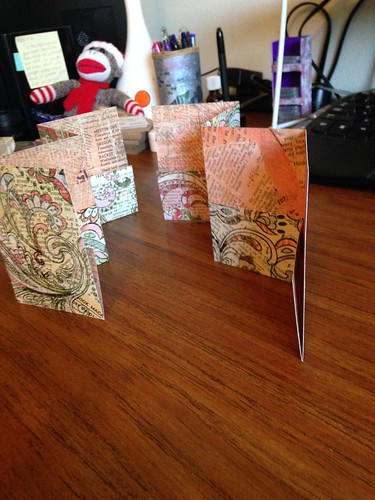
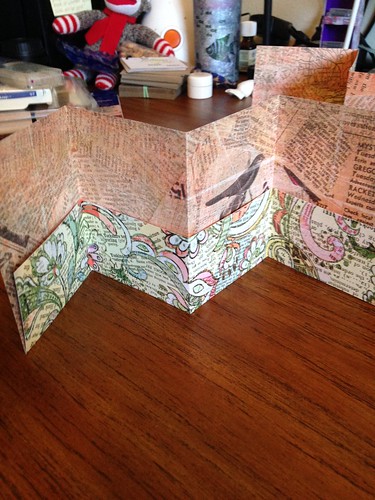
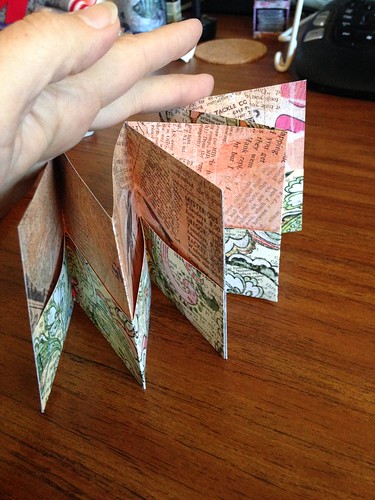
5. Fold it back and forth, accordian style, as shown in the picture.

IMG_2101

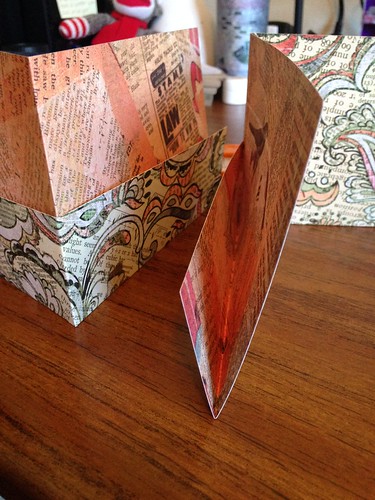
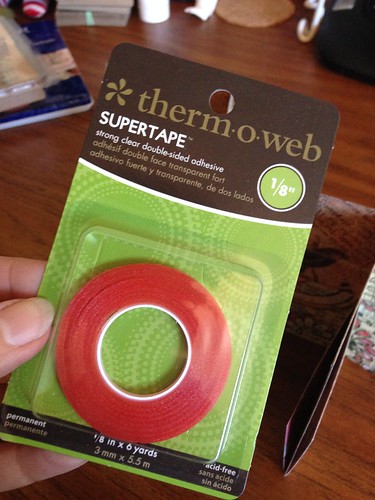
6. Using a very narrow adhesive, adhere the outside open edges on each half to close the pockets. If your adhesive is very wide, it takes up pocket space. I love this adhesive because it's only 1/8" wide and it does a great job of holding things together.

IMG_2104

IMG_2105

7. Adhere the two sections together at the center. Yes, I know, my outside edges aren't yet adhered in the picture. I did this in reverse order on these two steps when I made it.

IMG_2103

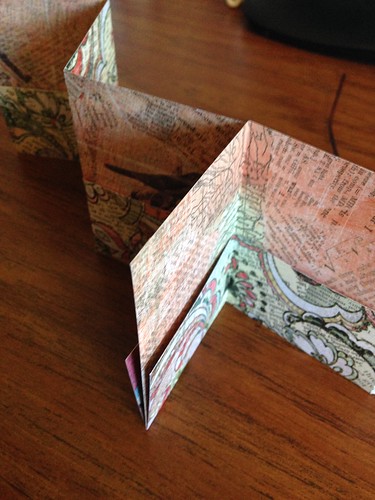
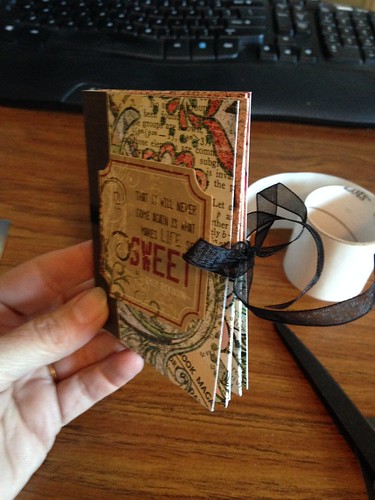
Now it's one long accordion with a slightly thicker center where the two pieces are adhered to each other.

IMG_2106

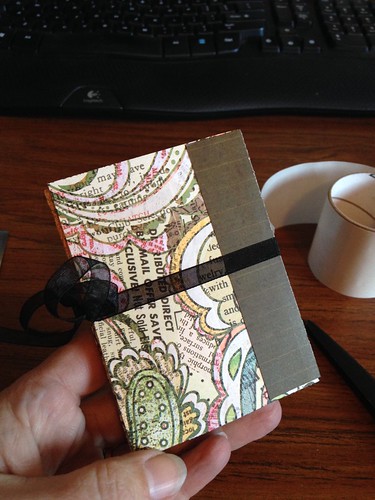
8. From a scrap of coordinating cardstock, cut a piece 2x4" Score at about 3/4" in from the long edges on both sides. Fold. This will form the spine. You can also tear the edges or use decorate scissors or sponge ink onto them for a different look.

IMG_2111

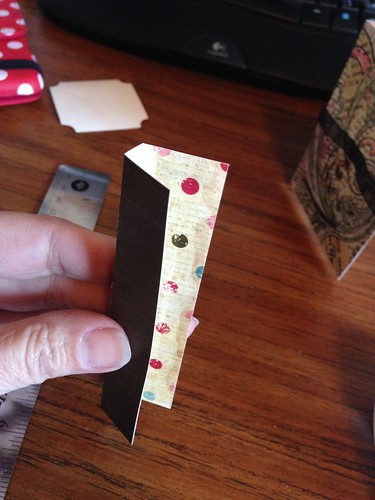
9. Put adhesive on the two sides of the spine, but not in the center strip. Align book inside the spine and attach together.

IMG_2112

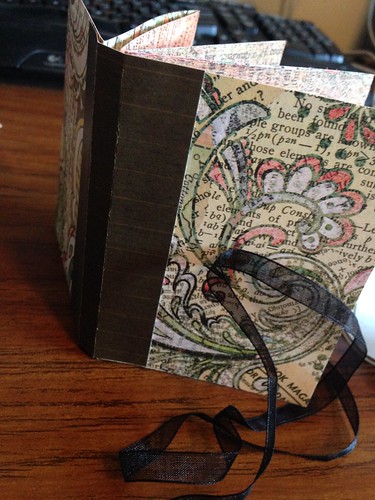
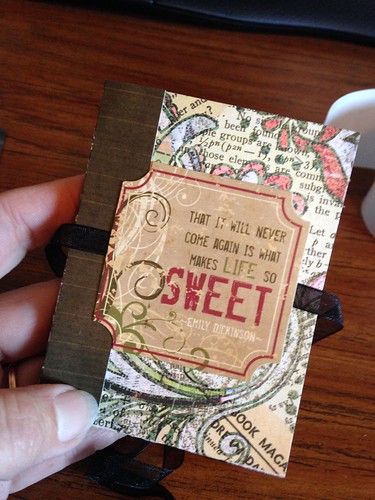
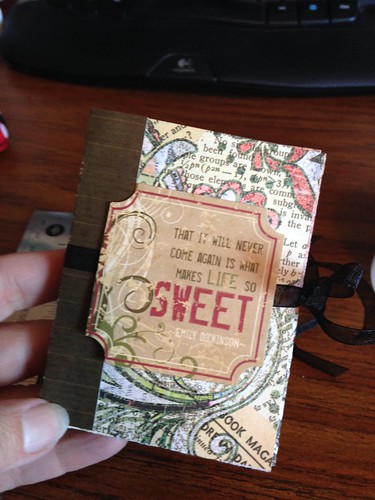
10. Determine desired length of ribbon to wrap around the book and tie in a bow. Center over the spine and adhere (glue dot or adhesive) on the front at a minimum. You can also add adhesive on the spine and/or the back as you want. Another variation would be to put the ribbon underneath the spine. In my finished product, the ribbon is on the outside, although you'll see me attaching it to the front before the spine went on. How I made it and how I'm writing the instructions are a little out of order.

IMG_2110

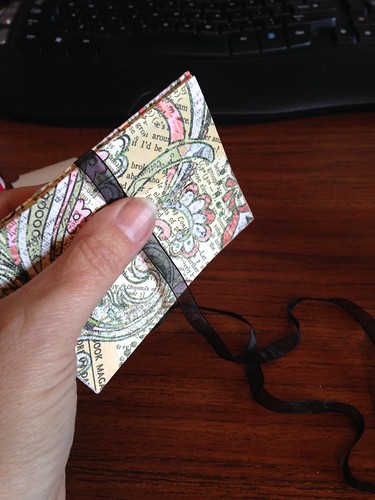
11. Attach decorative die-cut or sticker or whatever other bling you'd like to add to the front over the top of the ribbon.

IMG_2113

12. Put stuff in the pockets - gift cards, money, notes, gum, miniature Flat Stanley and family, or whatever else you can come up with. Tie it closed with a bow. Or knot.

IMG_2114

IMG_2115

IMG_2116

IMG_2118

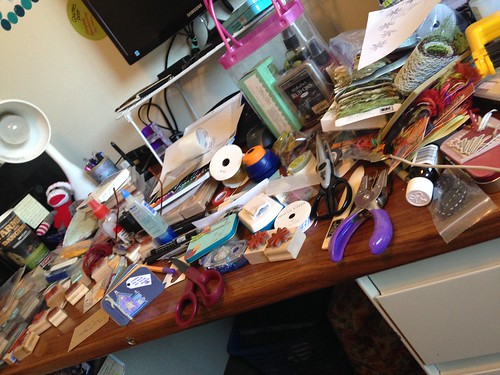
13. Clean up the mess that is your desk. Or maybe that's just me. In all fairness, I did another project before this one, which would be why it's super extra messy. Or at least that's my story and I'm sticking to it. Actually, now that I look at that mess, it's from the other project, not this one at all. Oh well. The messier the desk, the more creative. That's my motto and I'm definitely sticking to that one.

IMG_2095


If you have any questions or anything doesn't make sense, let me know. Enjoy!!

12.18.2008

Homemade Buttercream Frosting - A Tutorial

I just heard today that my dear friend, Sprittibee, actually likes her sugar cookies with just a splattering of colored sugar! To which I responded, "What'chu talkin' 'bout, Willis?"

Okay, I didn't really channel Gary Coleman, but seriously, sugar cookies without frosting?!?! Specifically, homemade almond buttercream frosting? I don't think so.

While it's easy for me to assume that everyone makes buttercream frosting, I could be wrong. It's happened before.

Oh, there are no measurements here. I might give approximates. Or not. Just go with it. This is not a fussy recipe. At all.


Put some (1/4 to 1/2 cup or so) softened butter (Yes, REAL butter; it's not called margarinecream frosting) into a mixing bowl. Blend butter until it's smooth and creamy. If it's going to be a large batch, put in more butter.


Dump some powdered sugar into the butter. Probably a cup or two. Mix until well-blended. It will be rather stiff at this point.


Pour in a little milk. Like 1/4 cup or less. Mix this in.


Now for a very important step. The almond extract. PURE almond extract. None of that artificial business. If you want artificial, buy a can of frosting at the store. Thankyouverymuch.

Flavorings and extracts are typically not for measuring. Just pour in some. Not a small some. Small flavor is wimpy. No wimpy frosting here.


If you want to color your frosting, now would be a good time to do so. That's if you plan to make a single color. If you want multiple colors, you can do this step at the end, after dividing your frosting amongst smaller bowls.


If you open the box and discover there's no more green food coloring, and it's your oldest son's birthday, whose favorite color is, and always has been, green, it's time to whip out your elementary color mixing skillz.

Blue + Yellow = GREEN

BTW - you can also use paste colors, which I often do, but most of my decorating supplies are still packed.


Some drops of yellow and less drops of blue and mix it all up. Unless you're not making green frosting. I trust that you can figure the color part out.


From here on out, it's just a matter of adding a little of this and a little of that until you have what you want. If your frosting is too thin, add some more powdered sugar. If it's too thick, add milk. Color too pale? Add some more food coloring.

Questions? Leave me a comment (make sure your email is available) and I'll be happy to answer. If not, go forth and make some killer buttercream frosting. Enjoy the sugar rush. Have a pillow handy when you come crashing down.


Related Posts Plugin for WordPress, Blogger...